Case Study
3D Printed Inlay Restorations
Digital workflow for conservative restorations

Digital precision, conservative preparation
At ADDA, we’re constantly exploring restorative workflows that prioritise longevity, accuracy, and patient-centred care. While traditional composite inlays or CAD-milled ceramic restorations often yield excellent results, advancements in 3D printing now offer us a new level of precision and efficiency. This case demonstrates how we utilised 3D printing to produce highly accurate inlay restorations with minimal intervention and maximum control.
Clinical background

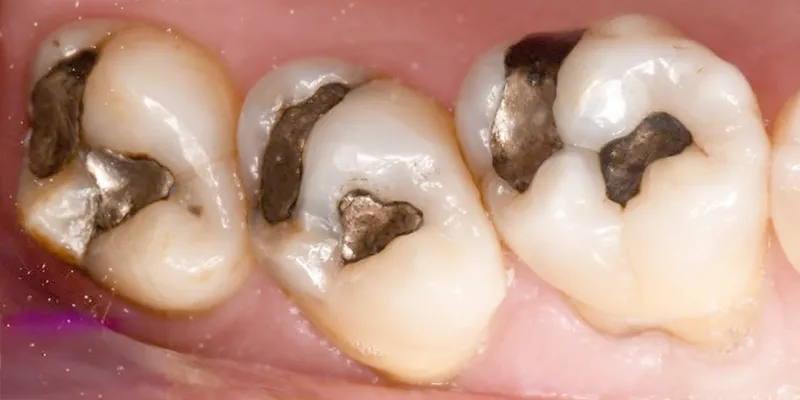
Our patient presented with symptomatic discomfort in teeth 6 and 7. Upon removal of existing amalgam restorations, we were surprised to find no dentinal cracks—only superficial enamel crazing. While this case could have been beautifully managed with incremental composite inlays (and often is), we wanted to avoid introducing an unfavourable C-factor that might compromise the integrity of the cavity walls.
Milled inlays were also considered, but in our experience, CEREC does not reliably mill this inlay configuration, particularly when using conservative preparations. Though full-coverage crowns were an option, we were unwilling to sacrifice additional healthy tooth structure. From a biomimetic and minimally invasive perspective, this is where additive manufacturing offers a distinct advantage.
Digital workflow
Intraoral scanning
We used the Shining 3D Aoralscan Elite, which we’ve found to consistently deliver extremely sharp images, especially for intricate inlay margins. That said, any medium-range scanner can be used successfully—Trios, iTero, or even Medit i700. We’ve also used PrimeScan with great results for similar cases.
The key is scan clarity. Your scan quality directly determines your design and final fit.
Design considerations
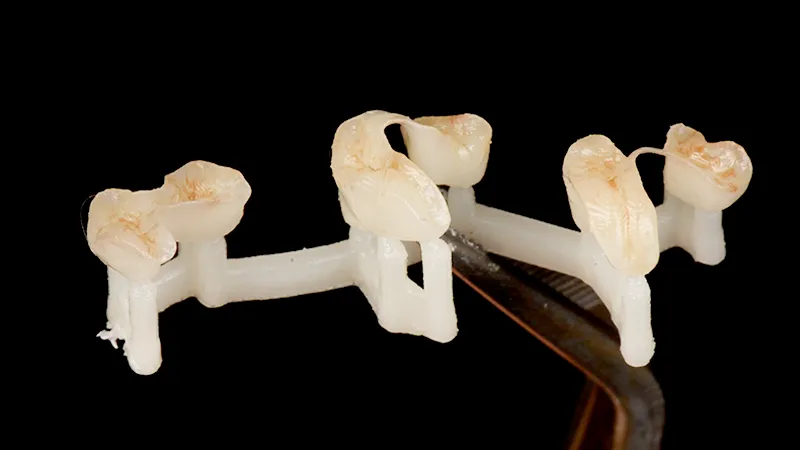
The restoration was designed in exocad, though we’ve had equally good results with Medit ClinicCAD, Dentbird, and reputable online design services. AI-based tools are evolving, but manual validation remains critical—don’t blindly trust automation. This particular design featured a thin isthmus bridge engineered intentionally to maintain restoration integrity during printing and handling.
Material
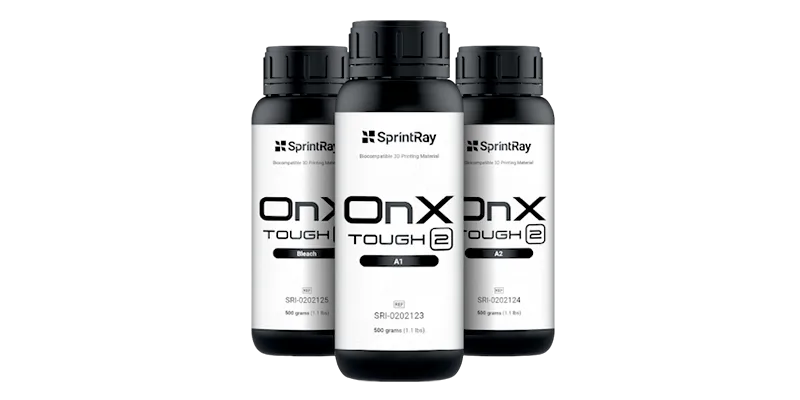
We printed the inlays using OnX Tough 2, a hybrid ceramic with excellent mechanical properties and polishability. Other materials that we’ve trialled and found suitable for similar cases include:
- SprintRay Ceramic Crown (not for crowns, but suitable for inlays/onlays)
- Rodin Sculpture 2.0
- Bego TriniQ (a promising open-system alternative to OnX Tough 2)

3D printing
We used the SprintRay Pro 2, along with their Arch Kit, which is ideal for quadrant printing. While MIDAS would have been the optimal choice for this case, other printers with small build plates or crown kits (e.g., Asiga Pod System) are also viable.
Curing
Proper polymerisation is paramount. We post-cured using Nanocure, which we consider a gold standard for 3D printed restorations. Alternatives like Ottoflash and Curi Plus also perform well, provided they’re used correctly. Under-curing remains one of the most common pitfalls in 3D printing for clinical use.
Chairside considerations
For general lab printing, accuracy is your main priority. However, when it comes to chairside 3D printing, we optimise for:
- Speed and simplicity
- Quality design
- Adequate accuracy
- Short curing time
- Compact print jobs (quadrant-based)
- Ability to print multiple units simultaneously
For quadrant restorations like this one, we suggest printing at least two units at once to maximise chairside time efficiency.

Finest outcome
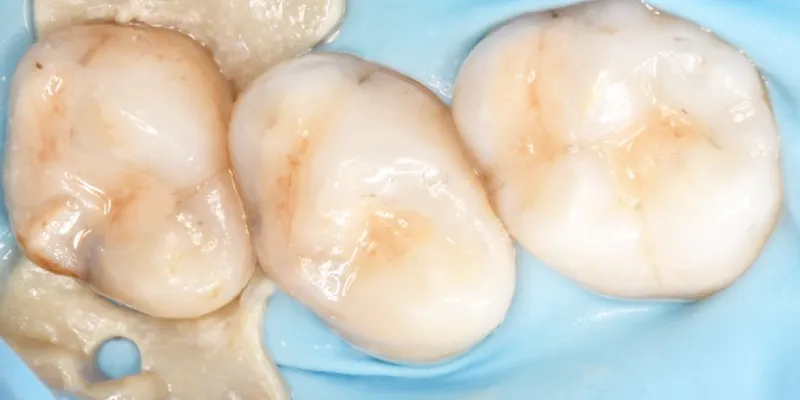
This was a straightforward inlay restoration, and the fit was exceptional—arguably superior to any other method we’ve used for similar indications. The inlay design included a micro-bridge in the isthmus to prevent fracture during handling, and it exemplifies how thoughtful design enhances clinical workflow.
In our experience, 3D printed inlay and onlay restorations deliver unmatched fit, especially for conservative preparations. For dentists looking to push the boundaries of digital dentistry, this approach offers a powerful and highly predictable solution.
Additive-driven restorative excellence
At ADDA, we’re committed to advancing the possibilities of digital dentistry. 3D printing is no longer a niche—it’s rapidly becoming a mainstream option for high-precision, minimally invasive restorations. As this case shows, with the right tools, materials, and protocols, printed inlays are not only viable but, in many scenarios, preferable.
We believe that the future of restorative dentistry is additive—and that future is already here.
